Camshelving Elevation Series Wall Shelving Configurator
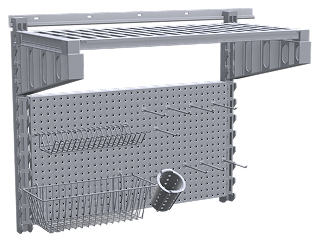
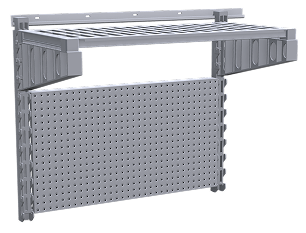
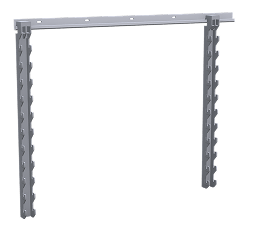 CUSTOMIZE YOUR DESIGN
Start with a single preset section, then custom‑build your wall shelving by modifying it as needed and adding more sections, configuring each section exactly as you want
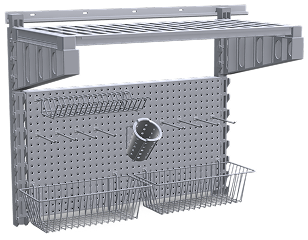
CUSTOMIZE YOUR DESIGN
Start with a single preset section, then custom‑build your wall shelving by modifying it as needed and adding more sections, configuring each section exactly as you want
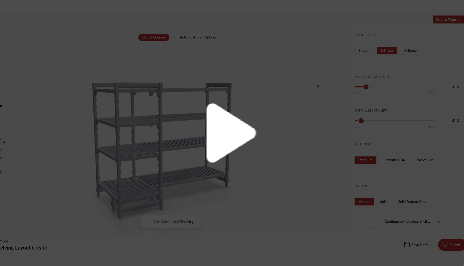 HOW TO VIDEOS
Take a video tour of the
Camshelving® Configurator to learn
how to effectively use it to customize
your space.
HOW TO VIDEOS
Take a video tour of the
Camshelving® Configurator to learn
how to effectively use it to customize
your space.
Works best with Google Chrome.